Box Facial Tissue Sample Review
How to Review an OEM Box Facial Tissue Sample
Quick Answer
Do not approve a box facial tissue sample from the front photo alone. Pull several sheets, compare the tissue specification with the agreed brief, inspect the assembled carton, and approve the artwork on the finished box.
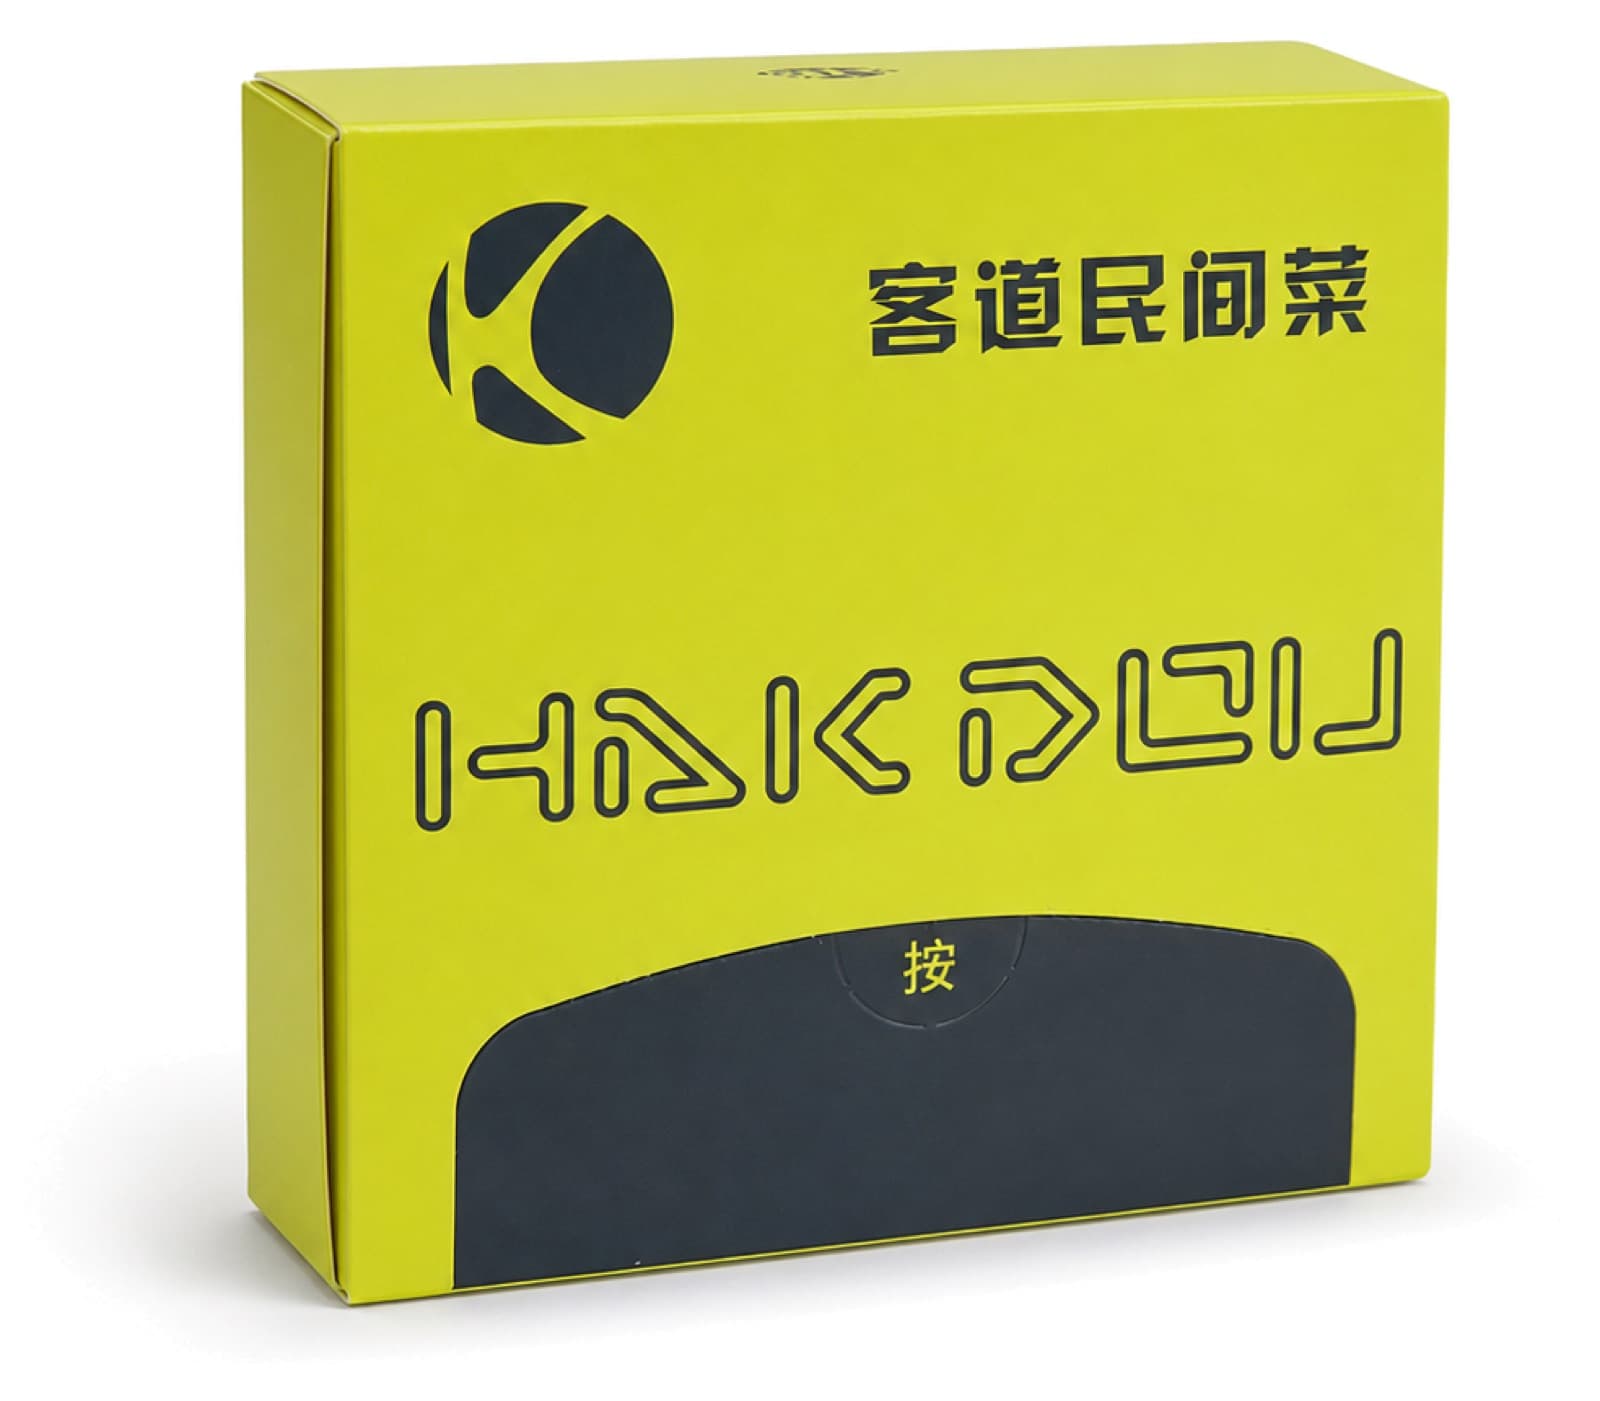
Before sample approval
Do not approve yet if...
- 01Tissue pull
- The next sheet does not present cleanly or several sheets follow.
- 02Sheet specification
- Size, ply, draw count, fold or feel differs from the agreed brief.
- 03Carton structure
- Dimensions, opening, folds, seams or corners do not match.
- 04Finished artwork
- Required copy, color, barcode or opening placement is not approved.
Hands-on review
Check the sample in this order.
Start with the tissue, then inspect the carton and finished artwork. Record the exact point that does not match before approval.
01 / Tissue pull
Pull several sheets before you judge it.
The first sheet is not enough. Pull several sheets, watch how the next sheet presents, and compare tissue size, ply, draw count and feel with the agreed sample brief.
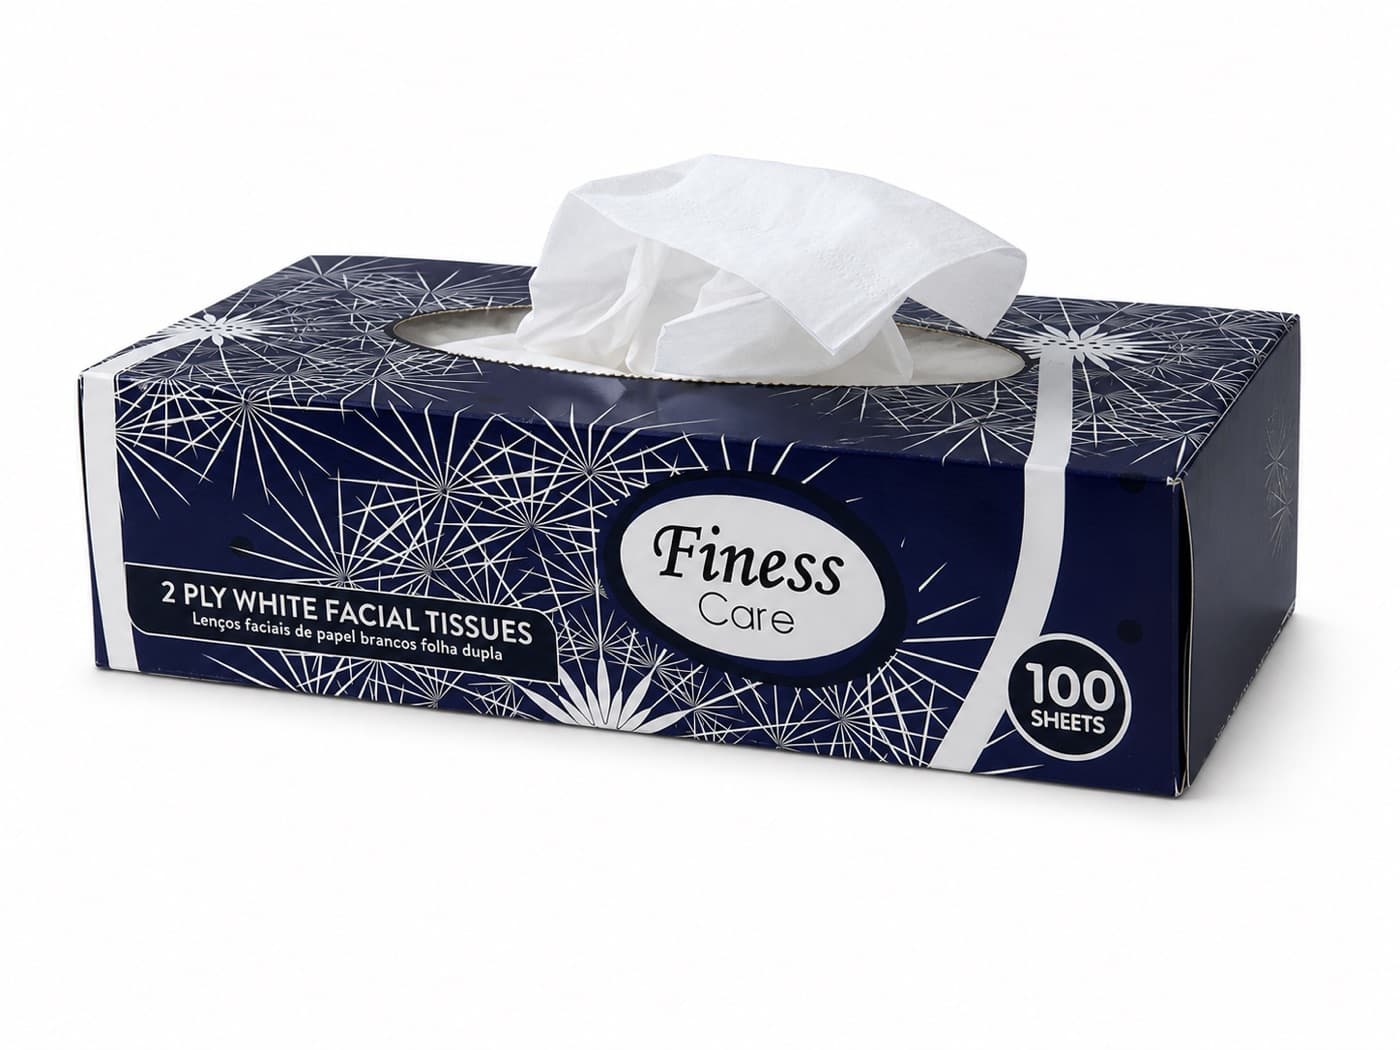
- Check the opening, first pull and sheet separation.
- Compare tissue size, ply, draw count and fold with the written brief.
- Record any pull or tissue difference before approval.
02 / Carton structure
Turn the box over and inspect the build.
Check more than the front panel. Review the finished dimensions, dispensing opening, folds, glued seams, corners and surface condition on the assembled carton.
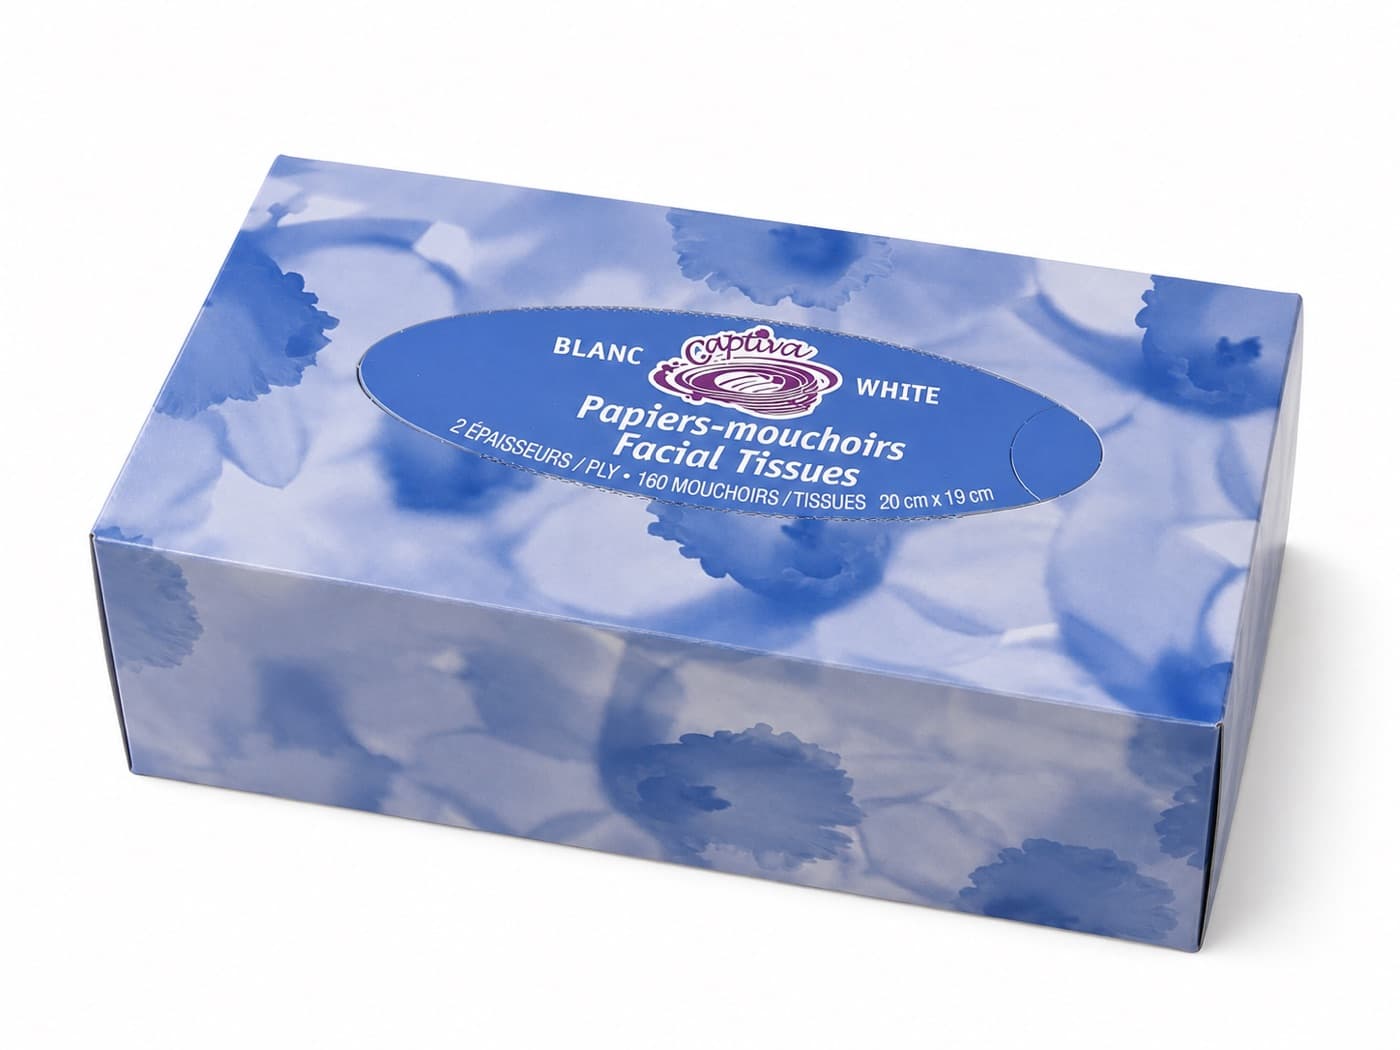
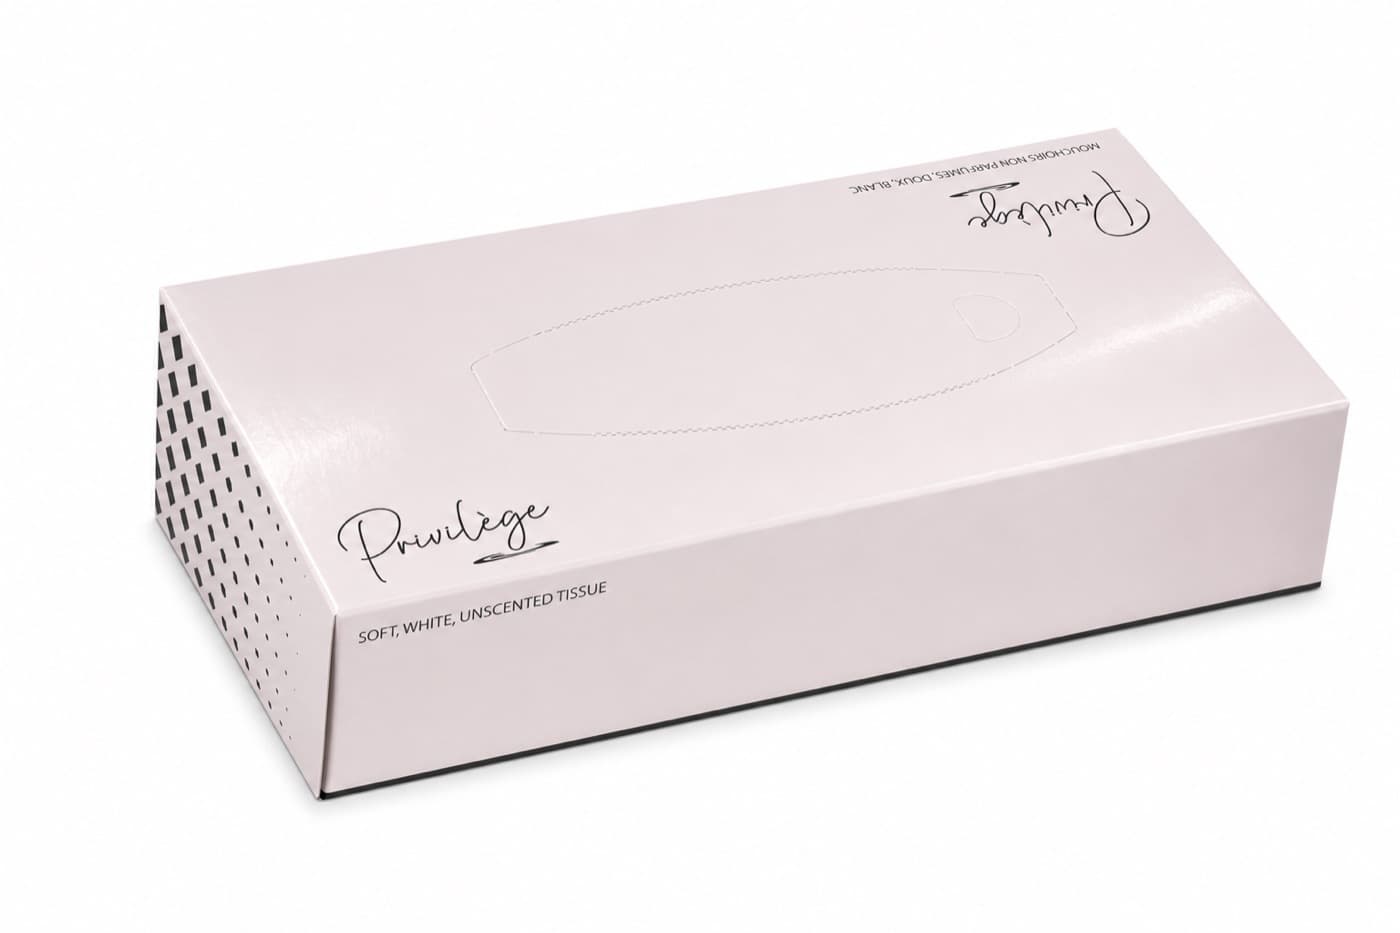
- Measure the finished carton instead of relying on the dieline alone.
- Inspect folds, seams, corners and the opening edge for visible defects.
- Confirm that the carton format suits the selected tissue count and fold.
03 / Finished artwork
Approve the artwork on the finished box.
A flat artwork file cannot show every finished result. Check the assembled box for logo position, required copy, color direction, barcode, finish and opening placement.

- Check every printed panel, not only the presentation face.
- Confirm required text, color references and barcode where applicable.
- Check whether folds, seams or the opening interrupt important artwork.
Keep the decision clear
Sample review checklist.
- 01Product: Box facial tissue
- 02Reference: Agreed brief, dieline or comparison sample
- 03Tissue: Size, ply, draw count, material and feel target
- 04Dispensing: Opening, first pull and sheet separation
- 05Carton: Dimensions, folds, seams, corners and finish
- 06Finished artwork: Required copy, color, barcode, opening and finish
Buyer questions
Three questions before approval.
Should the tissue and box be approved separately?
Review each specification separately, then test them together as one finished sample. Tissue size, ply, draw count and fold affect how the product sits in the carton and dispenses through the opening.
What should I do if the artwork is correct but the tissue pull is not?
Record the pull issue with a short video or clear photos and identify when it occurs. Keep the artwork decision separate and ask for the tissue, fold, tissue count or opening combination to be reviewed before final sample approval.
What should I record if the tissue does not dispense consistently?
Record when the problem happens and what the next sheet does. Use a short video to show whether the next sheet stays inside the box, several sheets come out together, or the problem starts after several pulls. Include the box format, tissue specification, opening, fold and sheet count for review.
Reviewing a box tissue sample?
Send sample photos and mark what does not match.
Share the box format, tissue specification and exact points that need review. TISVEN can compare those details before quotation or sample approval.